Agency — Getting Started
From an empty Agency account to your first client live on their own domain. Follow it in order — each step assumes the one before it.
The whole path
- 1.Open the console
- 2.Name your agency
- 3.Add your sender domain
- 4.Bind your cards domain
- 5.Publish all DNS at once
- 6.Create your first client
- 7.Brand the client
- 8.Give them their domain
- 9.Invite their people
- 10.Hand the client over
About 20 minutes of clicking. Only the DNS step waits on anyone else — and step 5 batches it into a single request.
Before you start, gather two things: the subdomain you want your own cards on (e.g.
cards.youragency.com), and the name and lead-contact email of your first client. Step 5 batches every DNS record into one handoff, so it helps to know who manages DNS for you and for that client.
Step 1 — Open the console
Sign in and click Agency in the left rail. The first time you do this your agency is created automatically, with your seat pool ready to allocate.
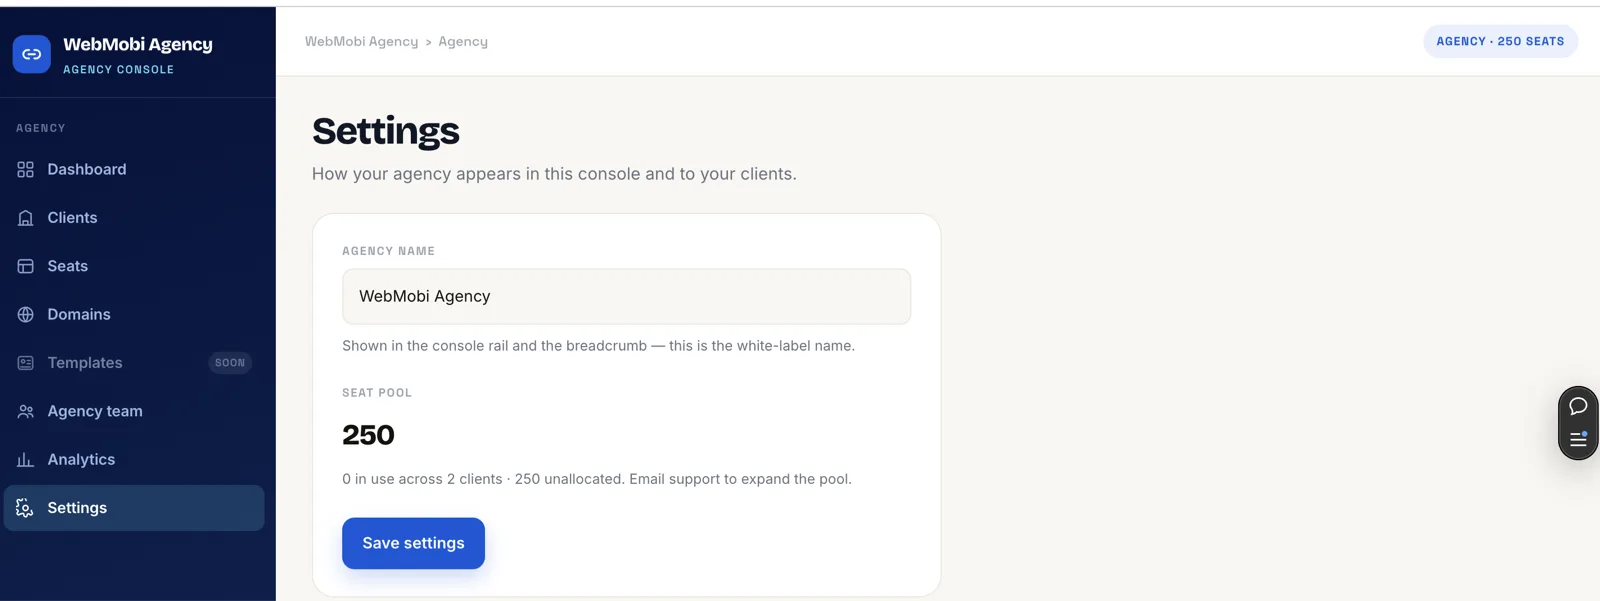
Expected: a dashboard showing 0 clients and your full seat pool unused. Nothing to fix — that’s a new agency.
Step 2 — Name your agency
Settings → Agency name. This is your white-label name: it replaces “NexaLink” in the console rail and breadcrumb, and — once step 3 is verified — in the invite emails your clients receive.
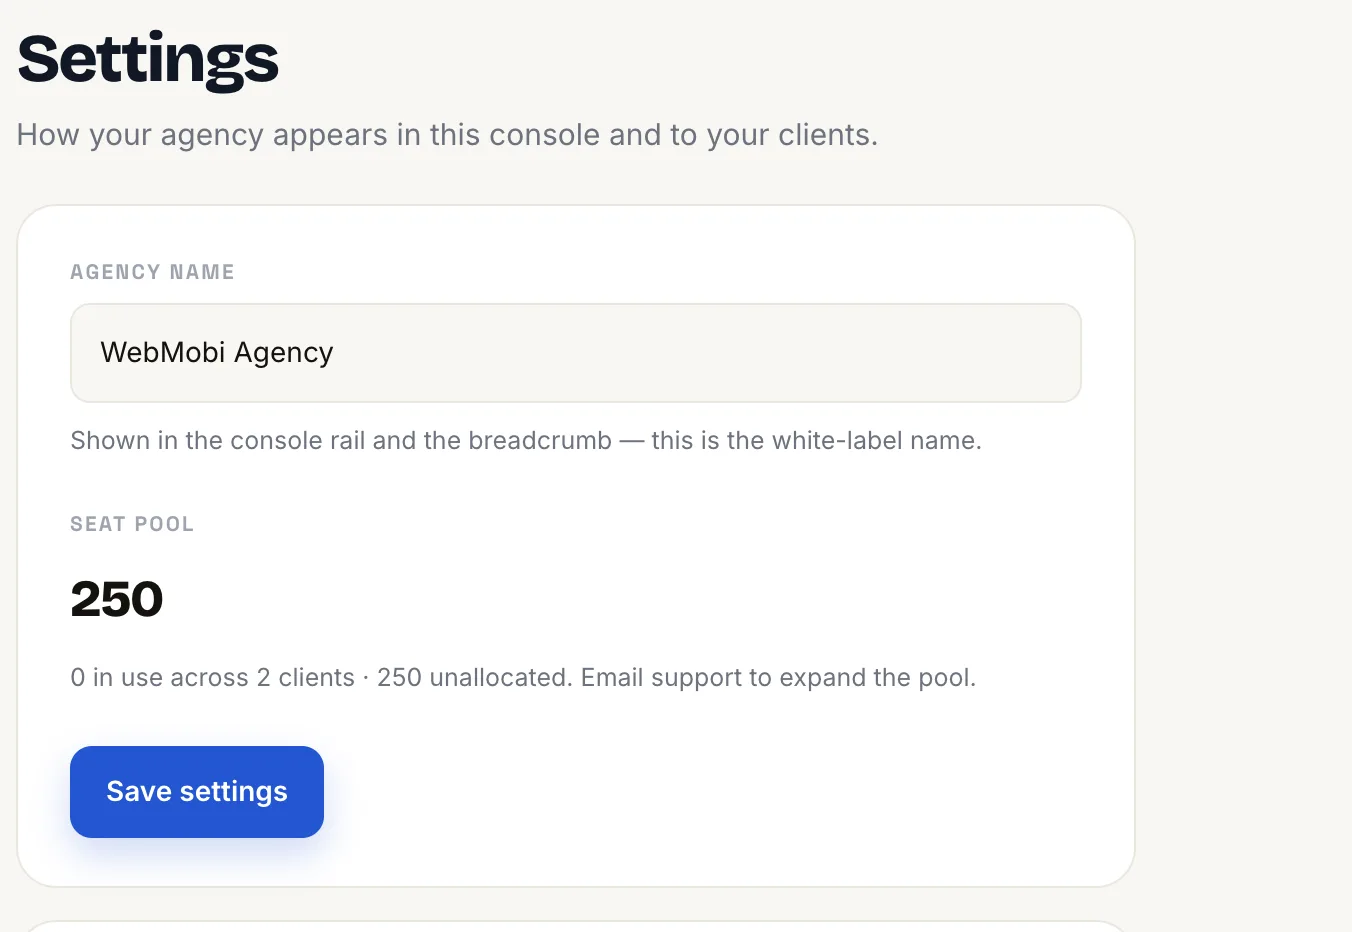
The seat pool is your total across every client. Allocating seats to a client doesn’t spend them — only people joining does.
Step 3 — Add your sender domain
Settings → Email sender domain → enter your domain (e.g. youragency.com). You’ll get three CNAME records back.
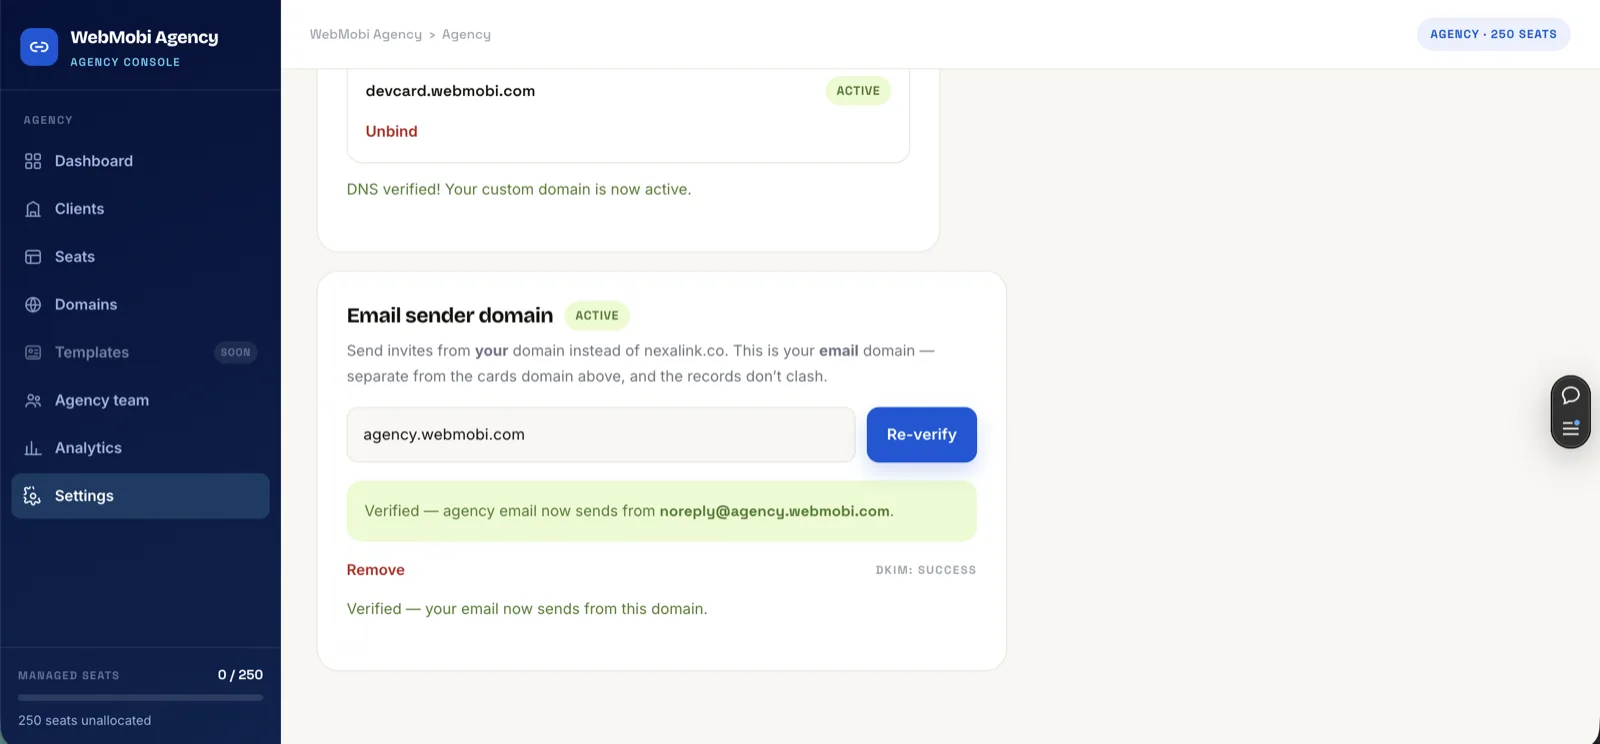
Don’t publish the records yet — step 5 collects everything into one handoff. Just note them.
This is the difference between a client invite arriving from you and one arriving from support@nexalink.co. It is the last place our name appears in an otherwise white-labelled web experience, so it’s worth doing properly.
Step 4 — Bind your cards domain
Settings → Your agency domain → e.g. cards.youragency.com → Bind. This serves your cards on your domain. Each client gets their own domain separately, inside their workspace.
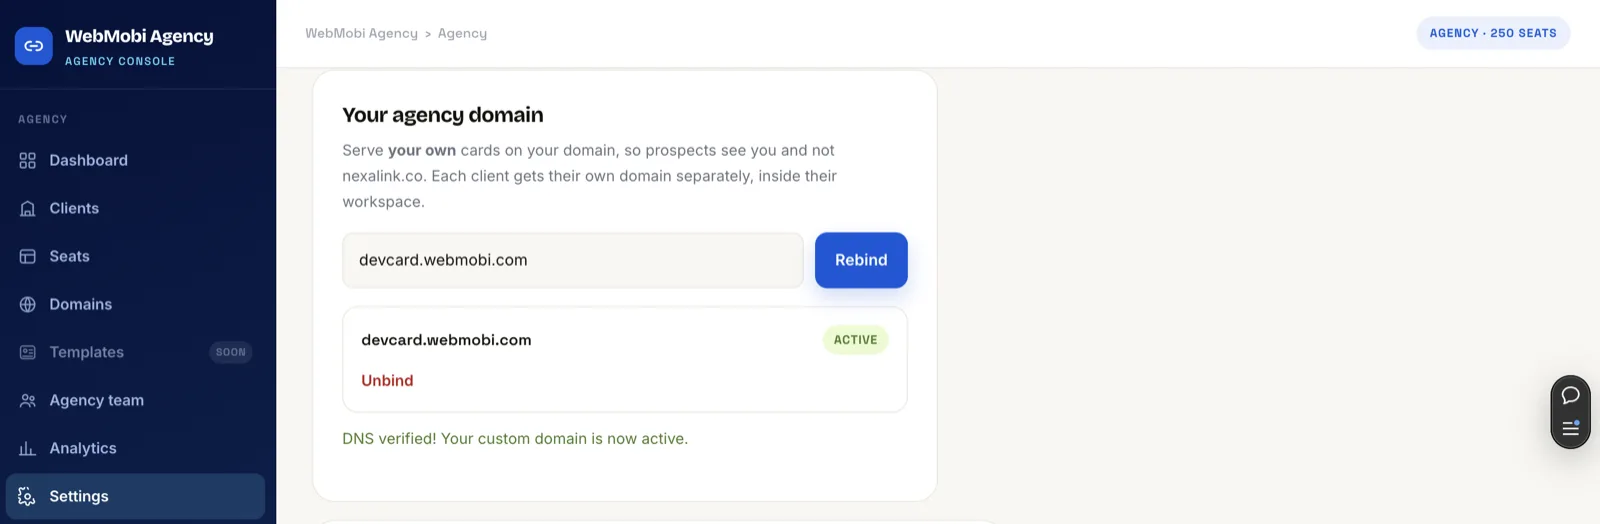
Use a subdomain, not a bare domain. Verification uses a CNAME and an apex domain cannot carry one, so a bare domain could never verify — we reject it up front rather than let it sit pending forever.
Step 5 — Publish all your DNS at once
You now have everything for your own agency: three sender-domain CNAMEs and at least one record for your cards domain. Send them to whoever manages your DNS in one request.
Three things cause almost every failed verification:
- A proxied CNAME. On Cloudflare, new records default to proxied (orange cloud). A proxied record hides the real target and will never verify — set it to DNS only (grey).
- The full hostname in the Name box. Most providers append your domain automatically, so entering
cards.youragency.comcreatescards.youragency.com.youragency.com, which silently never resolves. The console shows the host-only form per provider — use it. - A missing TXT ownership record. If your domain is already registered with another hosting provider, we also need a TXT record to prove you own it. When that applies the console shows it alongside the CNAME. A CNAME on its own will not be enough — without the TXT no certificate is issued and the address will not load at all. If a TXT already exists at that name, add the new value alongside it rather than replacing it; TXT records hold several values.
Once published, click Verify DNS. Propagation is usually minutes but can take a few hours.
Step 6 — Create your first client
Agency → + Add client. Give it the client’s name and the number of seats to allocate from your pool. Creating a client uses zero seats — allocate what you expect them to use, not your whole pool. You can change it later.
Step 7 — Brand the client
Open the client → Branding. Set their company, logo, primary colour and website. Tick “Lock these on every card in this client” to push those values onto every card in that workspace, so their people can’t drift off-brand. The preview shows the result before you commit.
Step 8 — Give the client their domain
Open the client → Domain → e.g. cards.theirdomain.com → Bind. Hand the records to whoever runs their DNS — the same three pitfalls from step 5 apply, and this is where they usually bite, because you rarely control a client’s DNS yourself.
This domain serves that client’s cards, never yours.
Step 9 — Invite their people
Open the client → Users → enter an email → pick a role → Invite.
| Role | Gets |
|---|---|
| Member | Their own premium, white-labelled card. No admin surface. |
| Admin | The same, plus runs the workspace — invites and removes their own users, manages their branding. |
Sending takes a few seconds while the email goes out — the button shows Inviting… until it’s done.
Step 10 — Hand the client over
Invite the client’s lead contact as Admin and they self-serve from then on. They sign in normally, see Team in their rail (not Agency), and manage only their own workspace — never your other clients, your seat pool, or the console.
That is the whole model. You set a client up once, hand it to their admin, and you’re only involved again for seats, domains and billing.
Checklist
| # | Step | Done when |
|---|---|---|
| 1 | Open the console | Dashboard loads, seat pool shown |
| 2 | Name your agency | Your name replaces the placeholder |
| 3 | Add your sender domain | Three DKIM records issued |
| 4 | Bind your cards domain | Records issued |
| 5 | Publish all DNS at once | Both show Verified / Active |
| 6 | Create your first client | Client listed, 0 seats used |
| 7 | Brand the client | Preview matches their brand |
| 8 | Give them their domain | Active after Verify |
| 9 | Invite their people | Seats move from allocated to used |
| 10 | Hand the client over | Their admin can invite without you |
If something is stuck
| Symptom | Cause |
|---|---|
| Domain stuck on Pending | Proxied CNAME, doubled hostname, or an outstanding TXT. The Domain screen lists every record still required. |
| Shows live but won’t load | No certificate yet — usually an unpublished TXT ownership record. Re-check the Domain screen. |
| “Use a subdomain…” | You entered a bare domain. Put cards. in front. |
| “Already in use on another account” | It’s bound elsewhere. Email support and we’ll move it. |
| An invite mentions the pool | You’re out of seats. Reclaim from a client that isn’t using its allocation. |
| A client admin can’t see their workspace | They were invited as Member, not Admin — or haven’t accepted yet. |
Questions
Email support@nexalink.co — include the client name, and for a domain issue the exact domain.
What Agency includes → · Agency admin guide (reference) · All guides